This term we have been learning about Japan in our HSIE unit and Electricity within Science. We applied our learning from these two subjects by creating paper cranes with a series circuit running through them.
Our class found that “In Japan, the crane is a mystical creature and is believed to live for a thousand years. As a result, in the Japanese, Chinese and Korean culture, the crane represents good fortune and longevity. For thousands of years the Japanese culture has treasured the crane as a symbol of honour and loyalty. “
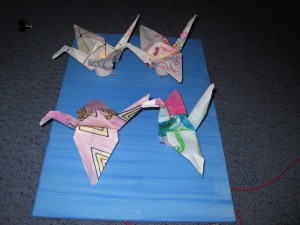
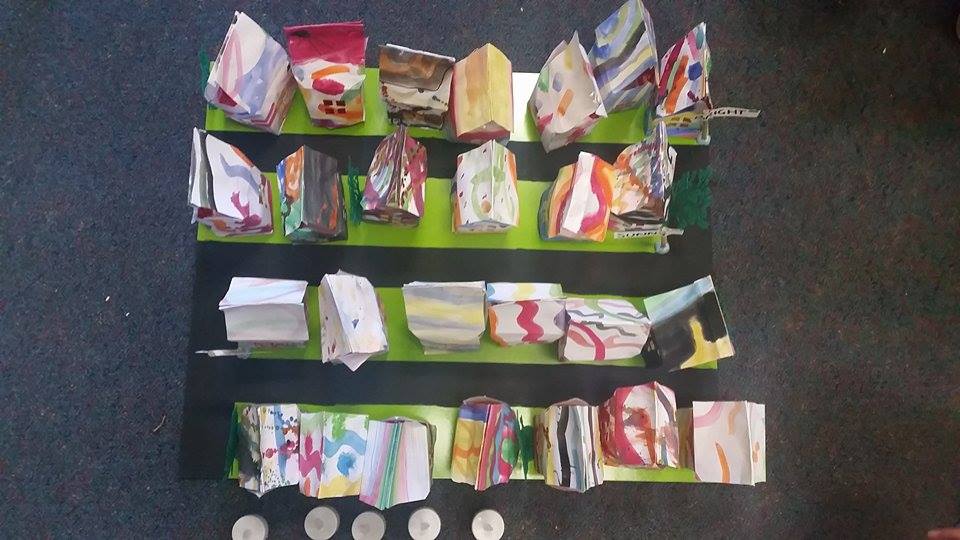
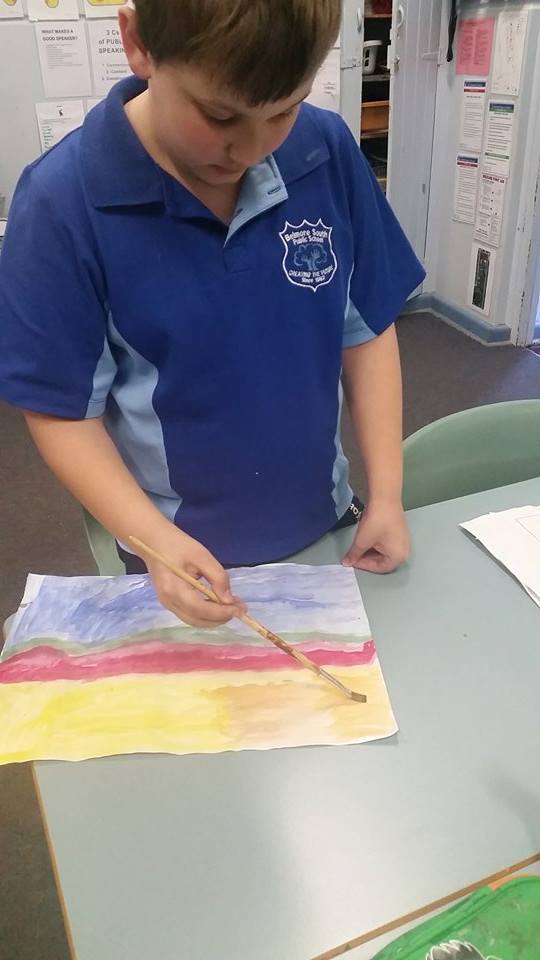
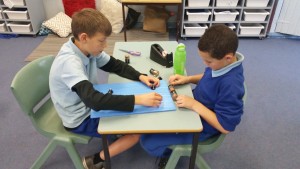
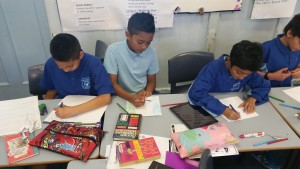
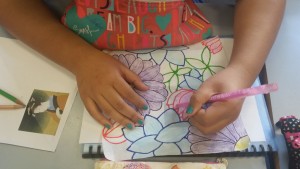
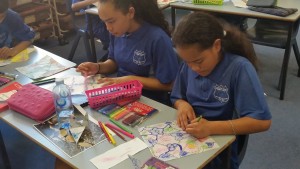
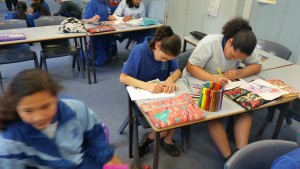
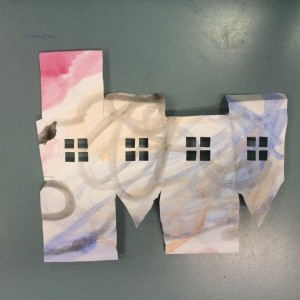
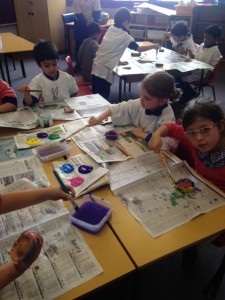
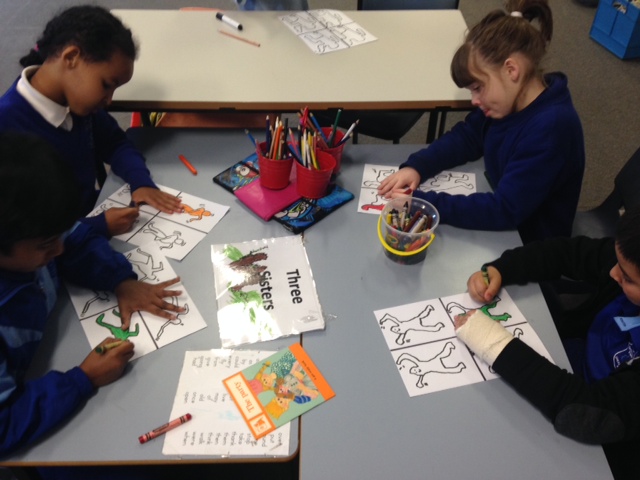
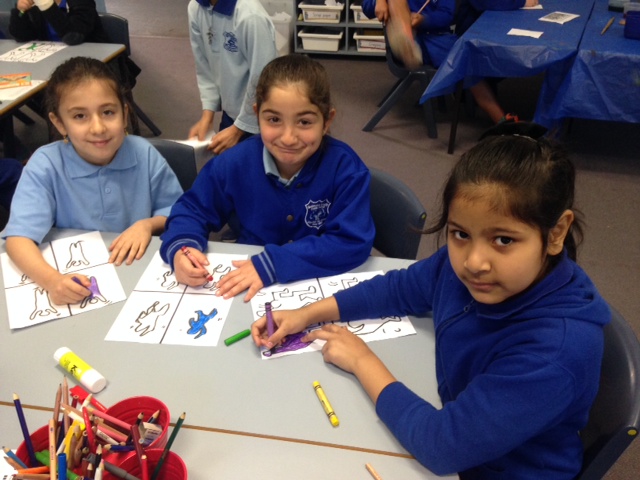
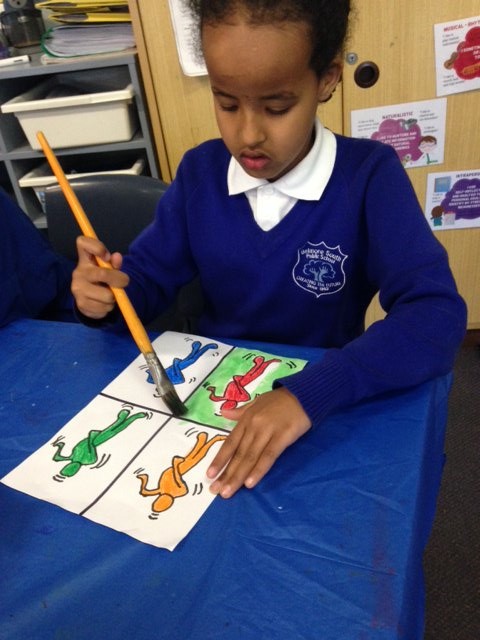
We have been studying the traditional clothing and leisure activities that Japan has to offer. We incorporated the Kimonos that Geishas wear into our paper cranes. Everyone has illustrated their own patterns based on various patterns of Kimonos around Japan. We began by drawing on our regular paper and then finalised our art on rice paper.
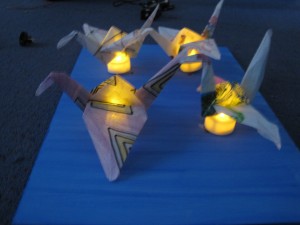
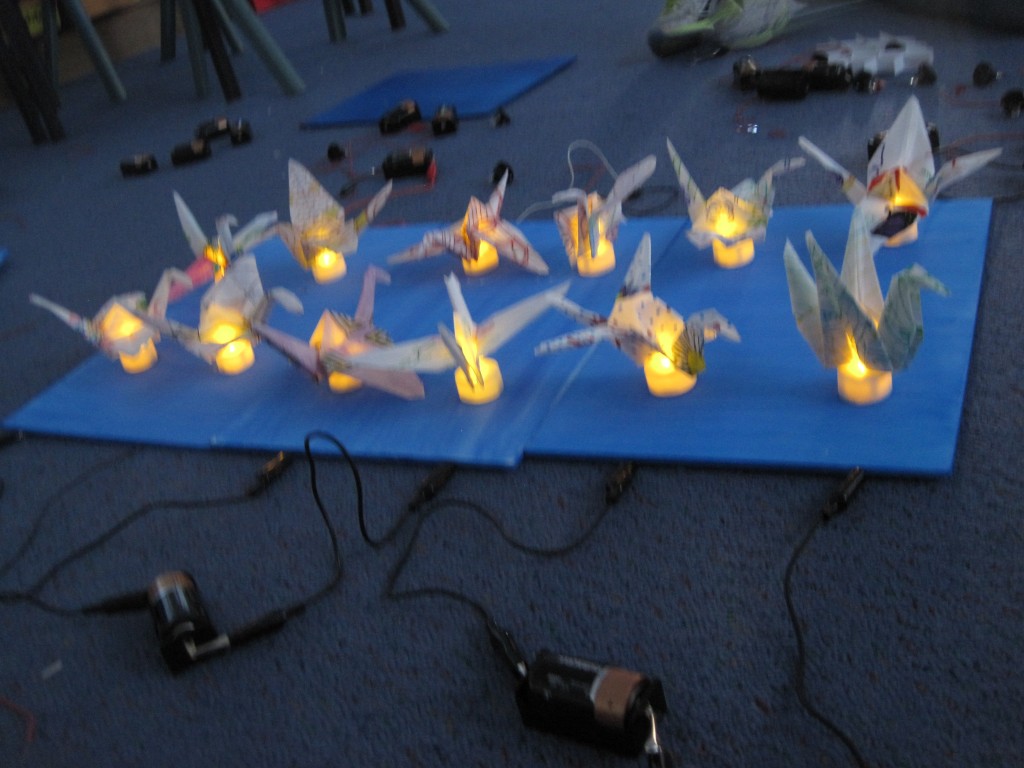
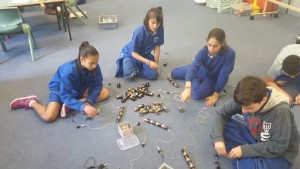
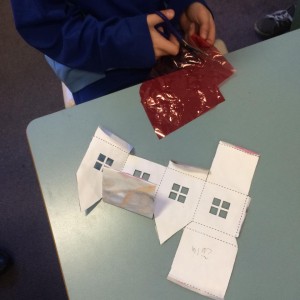
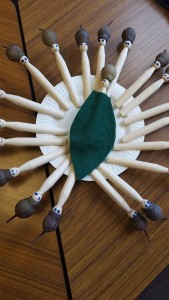
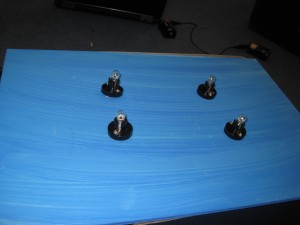
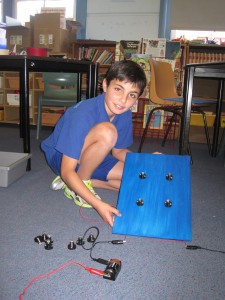
After this we constructed a series circuit to light up the inside of the crane. Our circuit runs under the blue foam board. We tested the circuit several times prior to creating it within our art.
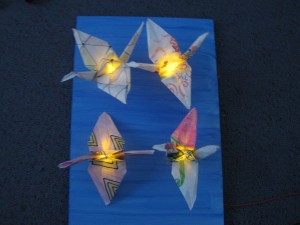
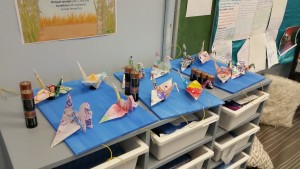
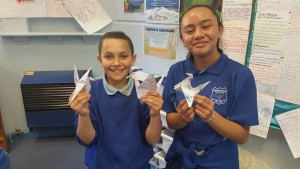
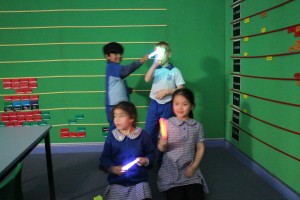
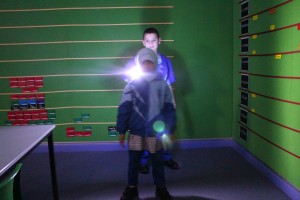
Finally, we attached the crane, blue foam board and circuit together to create a paper crane circuit which illuminated in the dark.
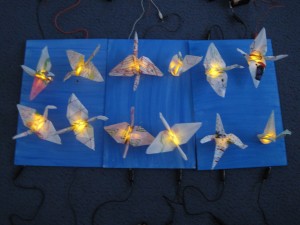
We found circuit making time consuming but it was worth constructing as the final product was eye catching. The paper crane circuit was finally completed and was put on display at our multicultural art gallery at Belmore South PS.
We would like to thank our teachers for assisting us in creating our very own origami masterpiece.

PAPER CRANE KIMONO
Our class S3Olive have been studying Japan for HSIE and Electricity for Science. So we decided to mix the two and create cranes with kimono patterns on them. Then we added circuits with working light bulbs.
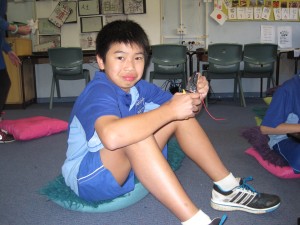
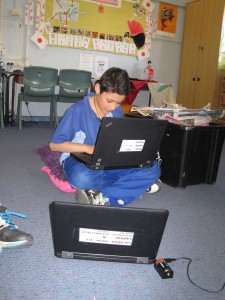
We needed batteries, a couple of wires and light bulbs to create the circuit. Our junior electricians and teachers made circuits which took them hours to put together.
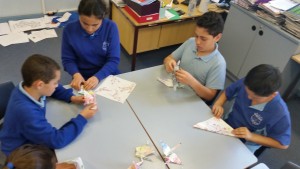
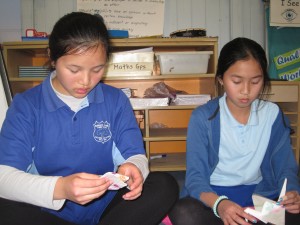
We used rice paper to make the cranes; the rice paper was very soft and delicate. We used textures and pencils to draw our kimono patterns or designs on the rice paper. Then we were taught how to fold the origami cranes by watching a YouTube video on how make paper cranes and, we also learnt from some origami masters among us in S3Olive.
Next up was constructing the circuits to light up our cranes. We cut a hole in the bottom of the cranes so they sit nicely on top of the light bulbs. We then tested and with a stroke of luck the circuits worked.
What we assume that you are looking at right now is the finished product of S3Olives hard work.